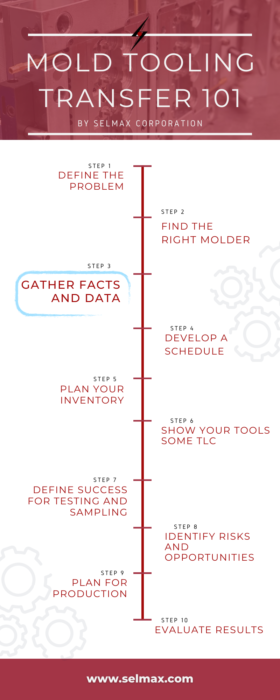
You’ve found the ideal plastic injection molder for your tooling transfer(s). Now it’s time to start gathering information. This stage is important and should be handled carefully and tactically.
Identify Key Players
At this stage, it’s important to identify the key players in the mold transfer process. They are:
- Project manager. This person is responsible for overseeing each step of the process and typically has a high-level of technical skill and experience.
- Tooling technician. Senior-level expert responsible for evaluating the molds and creating the documentation required to make improvements to ensure qualified products will be molded according to expectations.
- Quality. Specialist responsible for evaluating parts, gauges and fixtures, and creates metrology instructions and inspection reports, etc.
- Process technician. The Process Tech and team qualify the transferred mold(s) in one or more presses and fine tune the process to ensure an efficient process window in the new environment.
Establish a strong relationship with the project manager at the new molder. Get a list of any information they might need to make the transfer process more efficient.
Gather Existing Data
Find and review the contract with your current molder and have it ready to reference.
Now is the time to identify and compile any available 3D CAD files and 2D prints for the part and mold design along with material specifications, injection molding processing parameters, and applicable quality control requirements. Your new molder will use these to get an accurate quote and develop the best plan for your mold test and qualification.
If you cannot locate these items or they don’t exist, you will need to discuss the risks and implications with the project manager. You may need to add some cushion to your timeline to account for the extra time needed to test the molds, finesse the process, and produce acceptable parts.
Visit the Current Molder
When possible, it can be invaluable to visit the current molder to observe your mold running. Often, experienced operators will have specific shortcuts, tips, or tweaks to make the mold run more efficiently. Take notes because this information is integral in a successful mold transfer process. Having this information helps the new molder get set up and running quality parts faster.
Take Necessary Precautions
It is always good to be extra careful when you’re planning a tooling transfer. It’s wise to wait as long as possible to tell your current molder that you plan to move your molds. Especially if the molds are being run overseas, some molders may lose motivation to act in your best interest after learning that they’re losing your business. It is better to have everything in place at the new supplier before notifying your current molder.
It should be noted that transferring your tooling can be a great opportunity to calibrate your processes and get a third-party evaluation on the condition of the mold and quality of the parts being produced.
Ready to Start the Transfer Process?
Selmax Corporation is a full-service plastic injection molder that specializes in mold transfers. We have been helping our customers produce high-quality parts for over 50 years.
Take the first step today.
More in this series:
Step 2: Finding the Right Molder
Step 5: Planning Your Inventory
Step 6: Showing Your Tools Some TLC
Step 7: Defining Success for Testing and Sampling
Step 8: Identifying Risks and Opportunities
Step 9: Planning for Production
Step 10: Evaluating Results


2 Comments
Mold Tooling Transfer 101: Planning Your Inventory - Selmax Corporation
[…] Step 3: Gathering Facts and Data […]
Mold Tooling Transfer 101: Developing a Schedule - Selmax Corporation
[…] Step 3: Gathering Facts and Data […]